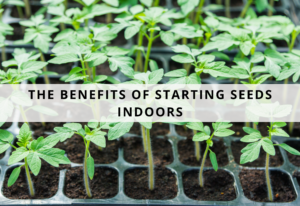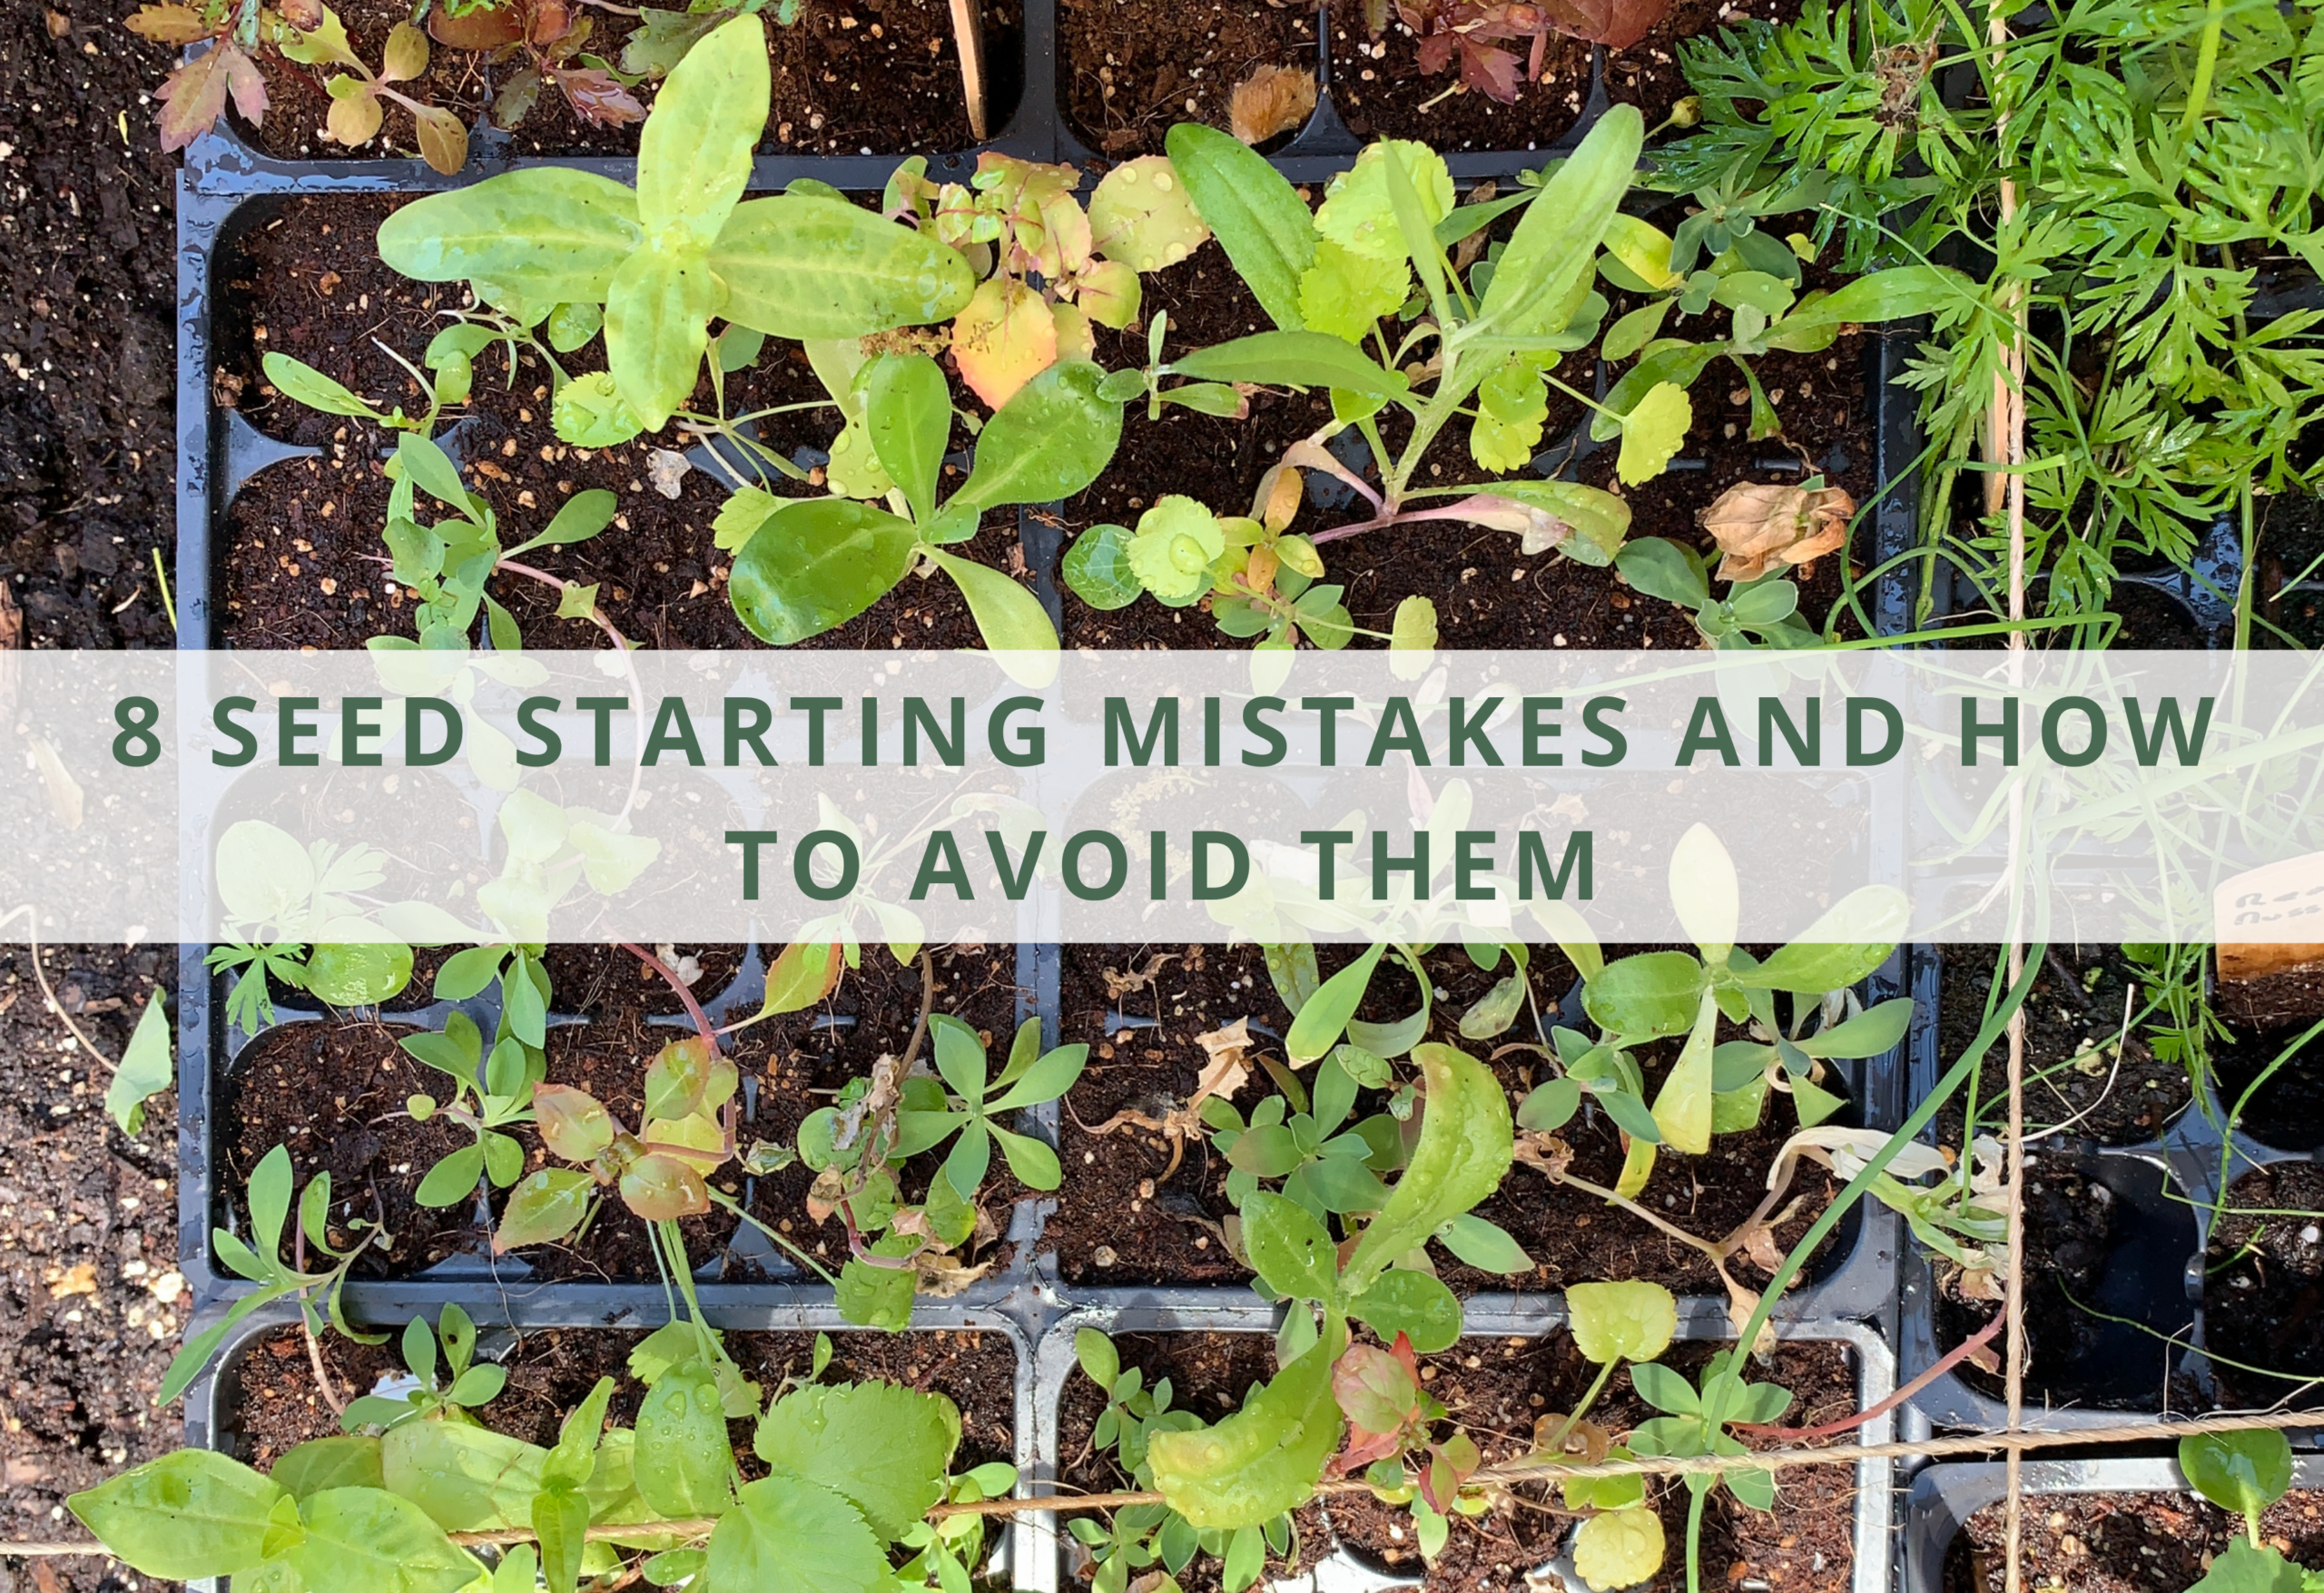
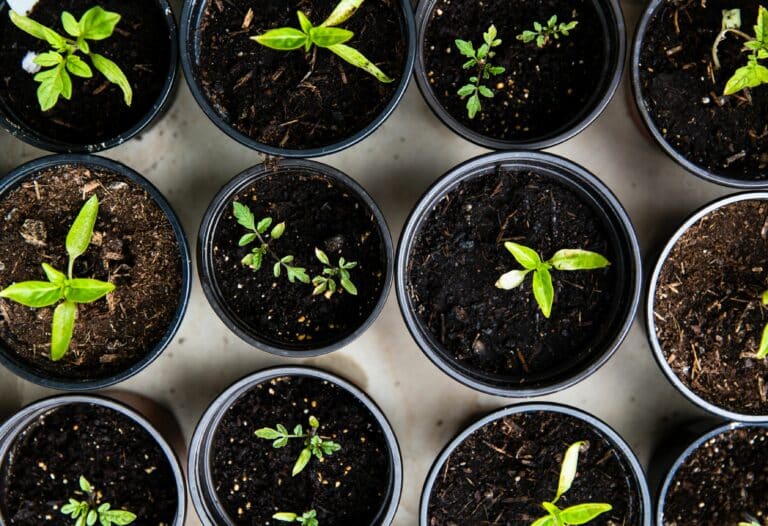
Starting seeds indoors can give your garden a jumpstart on the growing season and has so many awesome benefits, but it’s not without its pitfalls. Let’s go over some common seed starting mistakes, from overwatering to choosing the wrong soil, the mistakes are numerous but entirely avoidable. Here’s a guide to some of the most common errors people make when starting seeds indoors, along with tips on how to avoid them. For my favorite products for seed starting, read to the bottom of the page!
Table of Contents
1. Starting seeds too early is a common seed starting mistake
One of the most common seed starting mistakes when starting seeds indoors is beginning the process too early. While it’s understandable to be enthusiastic about getting a jumpstart on the season, this can lead to complications that may compromise the health and vigor of your plants. When seeds are sown too soon, they often grow too large before it’s warm enough to transplant them outside. This indoor overgrowth can lead to what’s known as “legginess,” where plants become tall and spindly.
This happens because the indoor environment, despite our best efforts with artificial lighting, rarely matches the intensity and spectrum of natural sunlight. Additionally, space inside is typically more limited, which can result in plants that are not only leggy but also weak, having not developed the robust root systems and sturdy stems they need to thrive outdoors.
To avoid this seed starting mistakes, it’s essential to time your seed starting appropriately. Most seed packets provide recommended planting times, which are based on the average last frost date for your region. You can find this date by checking local gardening resources or weather stations. Once you have this date, count backward according to the growth timeline suggested on the seed packet—usually 6 to 8 weeks before the last frost—to determine the optimal time to start your seeds.
This timing helps ensure that your seedlings are robust enough to handle being transplanted outdoors without becoming overgrown indoors. By following these guidelines, you can maximize your seedlings’ health and set the stage for a successful growing season.
2. Using Incorrect Soil
Using garden soil or reused potting soil to start seeds indoors is another common seed starting mistake that can lead to significant challenges in the germination and overall health of your plants. Garden soil is typically too heavy and may contain pathogens or weed seeds, which can hinder the development of young seedlings. Similarly, reused potting soil might have depleted nutrients and could harbor disease organisms or fungus, which could be detrimental to new seed growth.
To ensure healthy seed germination and vigorous early growth, it’s crucial to use a lightweight, sterile seed starting mix. This type of mix is specifically designed to promote good drainage and air circulation, which are vital for the development of strong roots. A well-formulated seed starting mix usually contains a blend of peat, which retains moisture and keeps the soil light, vermiculite, which aids in water retention and aeration, and perlite, which helps to improve drainage and keeps the mix loose.
Using the right soil mix is not just about providing a safe starting point for seeds; it’s about setting the foundation for the future health and productivity of your plants. By starting with a clean, appropriate medium, you can dramatically increase your chances of a successful and vibrant garden.
3. Seed starting mistakes: Improper Watering
When starting seeds indoors, managing water levels meticulously is crucial. Overwatering can quickly lead to serious issues like root rot and the development of fungal diseases. These conditions severely impact young plants by depriving their roots of necessary oxygen, essentially suffocating them and increasing their susceptibility to diseases. On the flip side, underwatering is equally detrimental as it can cause the soil to dry out, preventing seeds from germinating and sprouting effectively.
The goal is to keep the soil perfectly balanced in terms of moisture: it should be consistently moist but not waterlogged. This balance is essential for the healthy growth of seedlings. A very effective way to achieve this is by using tools that allow for controlled watering.
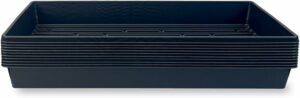
I use watering trays and seed starting trays for my seeds so the soil can stay damp and once the seedlings roots begin to grow, they can grow towards the water at the bottom and use what they need. This helps deliver water gently and evenly, ensuring that the moisture reaches deeper into the soil without overwhelming the young plants. This method of watering avoids the extremes of over and under-watering, providing a nurturing environment that encourages robust growth. It also avoids upsetting the location you planted the seedlings in comparison to top watering.
One last tip for maintaining moisture for your seeds! I will loosely place plastic wrap or cover the top of the trays to keep the moisture in. Once the seedlings start to sprout, I remove the plastic wrap and allow them to thrive!
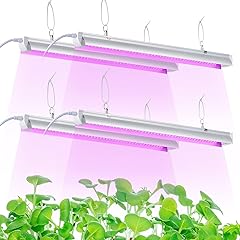
4. Neglecting Light Requirements
Proper lighting is critical when starting seeds indoors, as insufficient light is one of the common seed starting mistakes that can adversely affect seedling growth. Without adequate light, seedlings tend to stretch towards the nearest light source, becoming elongated and weak — a condition known as “legginess.” This occurs because the plants are straining to absorb enough light to conduct photosynthesis, the process they need to grow strong and healthy.
This is very common for seeds started in windows. When I first started learning how to start seeds, I started them in the windowsills of my home and they were almost always plagued by legginess, drafts, or inconsistent temperatures.
In many regions, especially during the late winter or early spring, natural sunlight is not strong enough or prolonged enough to meet the needs of young seedlings. This is where artificial lighting, specifically grow lights, becomes essential. Grow lights are designed to simulate the spectrum of sunlight necessary for plant growth and can be a game-changer for indoor gardening.
To use grow lights effectively, place them just a few inches above the seedlings. This proximity helps ensure that the plants receive intense and direct light, preventing them from becoming leggy. It’s also important to mimic natural day lengths to encourage optimal growth; generally, keeping the lights on for about 14-16 hours a day is advisable. This schedule simulates the long days of spring and summer, providing the seedlings with a natural growth rhythm.
By ensuring your indoor seedlings have access to adequate, well-positioned light for the correct amount of time each day, you can significantly enhance their growth and strength, setting a solid foundation for a successful transplant to your garden when the time comes.
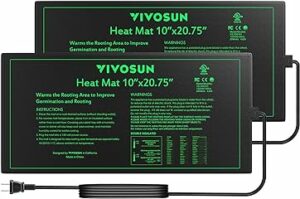
5. Ignoring Temperature
Seeds need certain temperatures to germinate and grow. Ignoring the temperature preferences of your plants can lead to poor germination. Most seeds require warm conditions, around 65-75°F (18-24°C), but check the seed packet for specific temperature guidelines. Using a heat mat can help maintain the optimal temperature, especially in cooler environments. I use heat mats for all of my seedlings now and I have greatly increased my germination rates!
6. Skipping Hardening Off
Hardening off is a crucial step in the transplanting process that involves gradually acclimating indoor-grown plants to the harsher conditions of the outdoor environment. This step is often overlooked, leading to a significant shock to the plants, which can result in stunted growth or even death due to the sudden change in temperature, light, and wind exposure.
To properly harden off your seedlings, start the process about a week before you intend to plant them outside permanently. Begin by placing the seedlings outdoors in a shaded, protected area to shield them from direct sunlight and strong winds, which can be too intense for plants used to the controlled conditions of indoors. On the first day, leave the seedlings outside for just an hour or two, then gradually increase their outdoor exposure each day.
It’s important to monitor the weather during this period and avoid placing seedlings outside during extreme conditions like heavy rain or unusually cold temperatures. As the days progress, you can start exposing the plants to more direct sunlight and less protection, allowing them to toughen up and adapt to their new growing conditions.
This gradual adjustment helps prevent the shock that plants can experience when moved from a stable indoor environment to variable outdoor conditions, thereby enhancing their chances of thriving in their permanent outdoor home. By the end of the week, your seedlings should be ready to endure full sun and fluctuations in weather, setting the stage for a successful transition to garden planting.
7. Planting Seeds Too Deeply
Depth is crucial when planting seeds. Planting too deep is one of the seed starting mistakes because it can prevent seeds from sprouting due to lack of light or excessive distance for the sprout to travel. Each type of seed has its ideal planting depth, usually listed on the packet.
A good rule of thumb is to plant seeds at a depth twice their size. Some very small seeds, mostly flower seeds, will ask you to lightly press them into the soil instead of burying them. For these seeds it is important to be mindful about how you water them, like mentioned about in #3 Improper Watering.
8. Overcrowding Seed Trays
Overcrowding seeds can lead to competition for light, nutrients, and air circulation. This is one of the seed starting mistakes because overcrowding promotes disease and inhibits growth of seedlings. Give your seeds enough space to grow by following the spacing guidelines on the seed packet or thinning out seedlings once they have a set of true leaves.
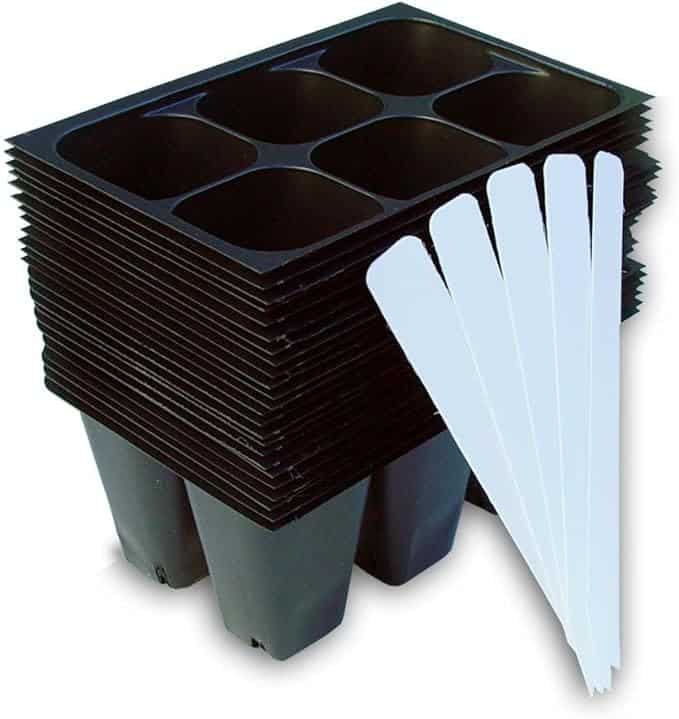
My favorite Seed Starting Products

By clicking the links above and purchasing the products, you can help support Dragon’s Hearth Homestead through Amazon Associate commissions.
Now you can avoid seed starting mistakes and start seeds with more confidence!
Starting seeds indoors can set your garden up for success, but it requires careful attention to avoid seed starting mistakes. To ensure robust, healthy plants, timing is key; avoid sowing too early by adhering to the recommended planting times based on your area’s last frost date. Use a lightweight, sterile seed starting mix to promote good drainage and air circulation, crucial for preventing diseases and ensuring proper seed germination.
Water management is equally important; maintain a balance by keeping the soil consistently moist but not soggy, using tools like a spray bottle or a fine-rose watering can for precision. Adequate lighting is essential to prevent weak, leggy plants; if natural light is insufficient, supplement with grow lights positioned a few inches above the seedlings for 14-16 hours a day. Lastly, don’t overlook the hardening off process. Gradually acclimate your seedlings to outdoor conditions over a week to avoid transplant shock.
By closely managing these factors, gardeners can greatly enhance their success rate and enjoy a thriving garden from the outset.